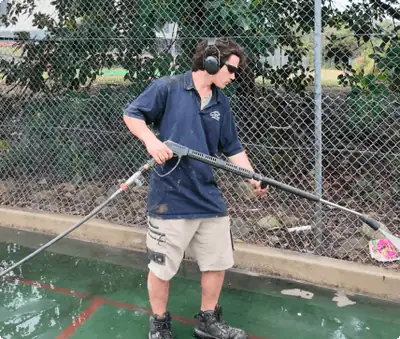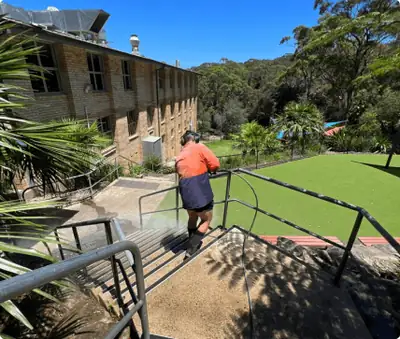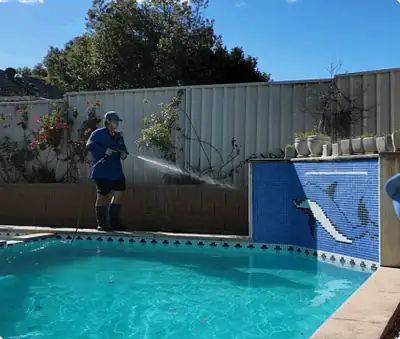
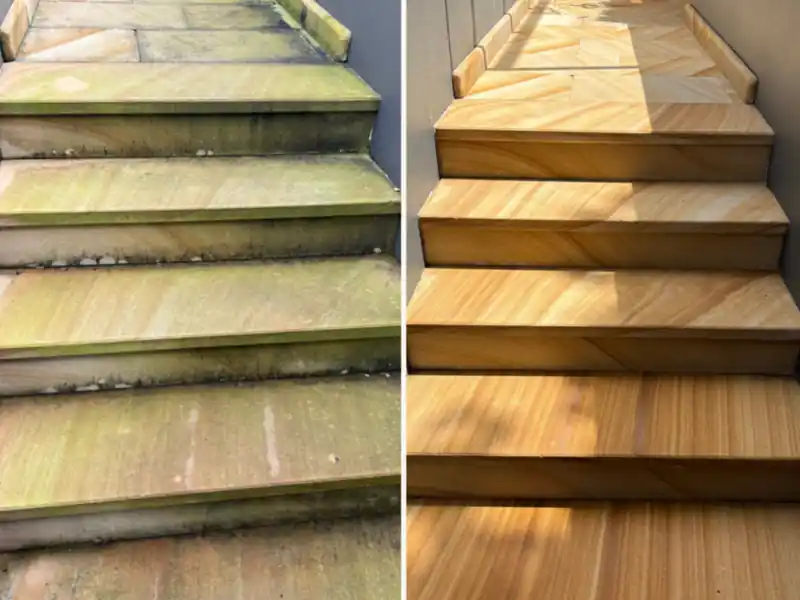
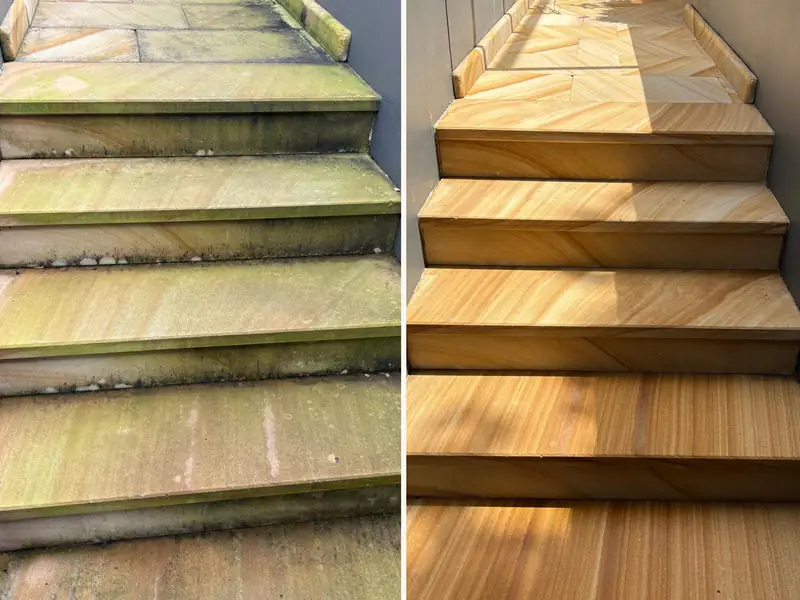
Sandstone is the stone of Sydney. It's in harbour seawalls, Federation foundations, garden stairs and pool coping from Palm Beach to Vaucluse. It's also one of the thirstiest stones you can put outside. Water, leaf tannin, red wine and pool chemicals soak in, and mould follows the moisture.
A good sealer slows all of that down. A bad sealer, or a good one applied badly, can trap moisture, peel, go cloudy or make stairs slippery. This guide covers what we've learned sealing sandstone around the Northern Beaches, North Shore and Eastern Suburbs: the types of sealer, which one suits which job, how to apply it and how to tell when it's worn out.
What a sealer actually does
Sandstone is made of sand grains held together by natural cements, with tiny gaps between them. Those gaps are why it absorbs water so quickly. A sealer either lines the gaps so water and oil bead on the surface instead of soaking in, or it puts a film over the surface that blocks them.
Neither type makes stone stain-proof. What a sealer buys you is time. A spill that would have soaked in within seconds now sits on top long enough to wipe up. Mould has less moisture to live on. The next clean is gentler because the dirt hasn't gone deep.
The main types of sandstone sealer
| Type | How it works | Look | Best for | Watch out for |
|---|---|---|---|---|
| Penetrating (silane or siloxane) | Soaks in and lines the pores with a water repellent | Natural, almost invisible | Walls, paving, coping, heritage stone | Repels water more than oil unless it says oil-repellent |
| Penetrating oil and water repellent (fluoro-based) | Soaks in and repels both water and oil | Natural | Outdoor kitchens, entertaining areas, driveways | Costs more; still needs a clean, dry surface |
| Colour enhancing penetrating | Soaks in and darkens the stone slightly | Richer, 'damp' colour | Paving and coping where you want the colour to pop | Can't be undone easily; test first |
| Topical acrylic | Forms a thin film on top | Satin or gloss sheen | Some concrete and pavers, rarely sandstone | Can trap moisture, go cloudy, peel and get slippery |
| Topical polyurethane or epoxy | Hard film on top | Gloss | Indoor or covered areas | Not suited to outdoor sandstone in Sydney sun |
For outdoor sandstone, we use penetrating sealers almost every time. Sandstone needs to breathe. Moisture comes up from the ground behind retaining walls and under paving, and a film sealer on top can trap it. Trapped moisture is what causes the white cloudy patches and peeling you see on badly sealed stone.
When an enhancing sealer makes sense
Some sandstone looks flat and pale when it's dry and beautiful when it's wet. A colour enhancing sealer gives you something close to that wet look permanently. It's popular on pool coping and paving. It's not reversible in any practical sense, so we always do a test area and let you see it dry before deciding.
Which sealer for which part of your property
| Area | Our usual choice | Why |
|---|---|---|
| Sandstone retaining walls | Breathable penetrating water repellent, or nothing on heritage walls | Walls need to let ground moisture out |
| Garden stairs | Penetrating sealer with anti-slip additive | Shaded stairs get slippery; grip matters more than shine |
| Pool coping | Penetrating oil and water repellent | Sunscreen, pool chemicals and wet feet |
| Entertaining terraces | Penetrating oil and water repellent | Food, wine and barbecue fat |
| Driveways in sandstone | Penetrating oil and water repellent | Car oil and tyre marks |
| Heritage facades | Usually none | Old stone and lime mortar need to breathe; follow heritage advice |
Preparation decides whether the sealer works
Sealer locks in whatever is on the stone when it goes on. Seal over mould and you'll see dark patches under the sealer for years. Seal over a damp surface and the sealer won't bond, or it will go milky. Most sealer failures we're called to fix come down to preparation, not the product.
- Clean the stone properly first, with a treatment that kills mould and lichen rather than just washing the colour off.
- Treat stains before sealing. Iron and tannin stains sealed in are much harder to remove later.
- Let it dry. Sandstone holds water deep inside. After a wash it can take a full day of sun, sometimes two, before it's dry enough to seal.
- Check the forecast. Most sealers need several dry hours after application. Rain or heavy dew too soon ruins the job.
- Protect what shouldn't be sealed: glass, timber, metal and plants nearby.
How we apply a penetrating sealer
The method matters as much as the product. This is the process we follow on most sandstone jobs.
- Test area. A small patch in a hidden spot, left to dry, so you can see the final colour.
- First coat, flood applied. The sealer goes on generously with a low pressure sprayer or brush so the stone drinks as much as it can.
- Back brush. Any pooling is brushed out so the coverage is even and no excess sits on the surface.
- Wet on wet second coat where the product calls for it, usually on very porous or high-wear areas.
- Wipe off residue. Anything that hasn't soaked in after the product's stated time is removed, otherwise it can leave a sticky or shiny patch.
- Cure. Light foot traffic is usually fine after a few hours. Furniture, pot plants and cars wait for the full cure time on the label.
Always follow the manufacturer's instructions for the specific product. Coverage rates, recoat windows and cure times vary a lot between brands.
How long does a sandstone sealer last?
It depends on sun, traffic and how the surface is cleaned. As a rough guide from our work in Sydney:
| Situation | Typical life of a quality penetrating sealer |
|---|---|
| Vertical wall, shaded | Many years; walls wear the least |
| Garden paving, light foot traffic | Several years |
| Pool coping in full sun | Shorter; UV and pool chemicals wear it faster |
| Driveway under car tyres | Shortest; plan to reseal more often |
There's a simple test. Drip some water on the stone. If it beads and sits there, the sealer is working. If it darkens the stone within a few seconds, the sealer has worn and it's time to clean and reseal. Do the test in a few places, because high-traffic areas wear first.
Common mistakes with sandstone sealers
- Using a topical acrylic on sandstone. It looks great for a few months, then goes cloudy and starts peeling, and stripping it is slow.
- Sealing too soon after cleaning, while the stone is still damp inside.
- Pressure cleaning at high pressure before sealing. The stone surface gets rougher and more porous, so it needs more sealer and stains faster anyway.
- Sealing heritage walls with a non-breathable product, which can trap moisture and salts and make the stone surface break down.
- Skipping the anti-slip additive on stairs and pool surrounds.
- Sealing over mould instead of killing it first.
Sealing sandstone around pools
Pool surrounds are the hardest place for any sealer. The stone is wet several times a day, it takes full sun, and it soaks up chlorinated or salt water, sunscreen and body oils. Salt water pools add another problem: salt crystals can form inside unsealed stone as it dries, and over time that crystallisation breaks down the surface. You see it as flaking or powdering on the coping.
A penetrating oil and water repellent sealer reduces how much salt water gets into the stone. It won't stop it completely, so regular rinsing of the coping with fresh water still helps. Add an anti-slip additive if the coping or surround is used as a walkway. Reseal more often here than anywhere else on the property.
Signs a sealer has failed
| What you see | Likely cause | What to do |
|---|---|---|
| Water soaks in and darkens the stone quickly | Sealer has worn away | Clean and reseal |
| White or milky patches | Moisture trapped under a film sealer, or sealer applied to damp stone | Strip the film, let it dry, use a penetrating sealer |
| Peeling or flaking sheen | Topical sealer failing in sun and traffic | Strip and reseal with a penetrating product |
| Dark patches under the sealer | Mould or stains sealed in | Strip, treat the stain, reseal |
| Sticky or shiny patches | Excess penetrating sealer not wiped off | Remove residue with the manufacturer's recommended method |
| Stone powdering or flaking | Salt crystallisation or moisture trapped behind a sealer | Get advice before resealing; the cause needs fixing first |
Coastal stone versus bush stone
Where you are in Sydney changes what the sealer is fighting. On the ocean and harbour front, salt is the main problem, so we favour sealers that resist salt water and plan on more frequent rinsing. Under big trees on the North Shore or in Avalon, it's tannin and mould, so an oil and water repellent sealer that stops leaf stains soaking in does the most good. The cleaning before sealing changes too: coastal stone needs salt rinsed out, bush stone needs mould and tannin treated.
DIY or professional?
A small courtyard on a dry, flat site is a reasonable DIY job if you clean it properly, wait for it to dry and follow the label. Where it gets harder is large areas, walls, stairs on steep blocks, heritage stone and anything where a mistake is expensive to fix. A professional job also includes the deep clean and stain treatment, which is most of the work and most of the result.
If you're unsure, ask for a test area. Any good stone cleaner will do one, and seeing your own stone sealed and dry is worth more than any product brochure.
What we do differently
Every sealing job we do starts with a full clean using a stone-safe treatment and a low pressure rinse, never a high-pressure blast. We let the stone dry properly, test the sealer on your stone, and match the product to how the area is used. On stairs and pool surrounds we add grip. On heritage walls we often recommend not sealing at all, and we'll tell you why.